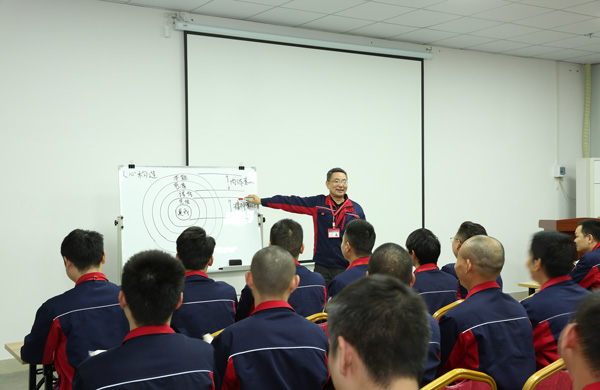
In the field of injection molding production, the installation and adjustment of molds on the injection molding machine are crucial links. The quality of these operations directly affects the subsequent molding effect of products and production efficiency. A well-installed and adjusted mold can ensure a stable injection molding process and high-quality products. Conversely, it may lead to various problems, such as product defects and mold damage. Next, we will elaborate on each step of mold installation and adjustment on the injection molding machine.
Mold Pre-inspection for Injection Molding: Prevent Problems in Advance and Build a Solid Quality Foundation
Before installing the mold on the injection molding machine, pre-inspection is essential. This step is like giving the mold a comprehensive “physical examination” to identify potential quality issues promptly. Through careful inspection, we can detect flaws in the mold in advance, such as dimensional deviations and surface defects, and make timely modifications. This way, we can avoid disassembling the mold after installation, saving a significant amount of time and cost.
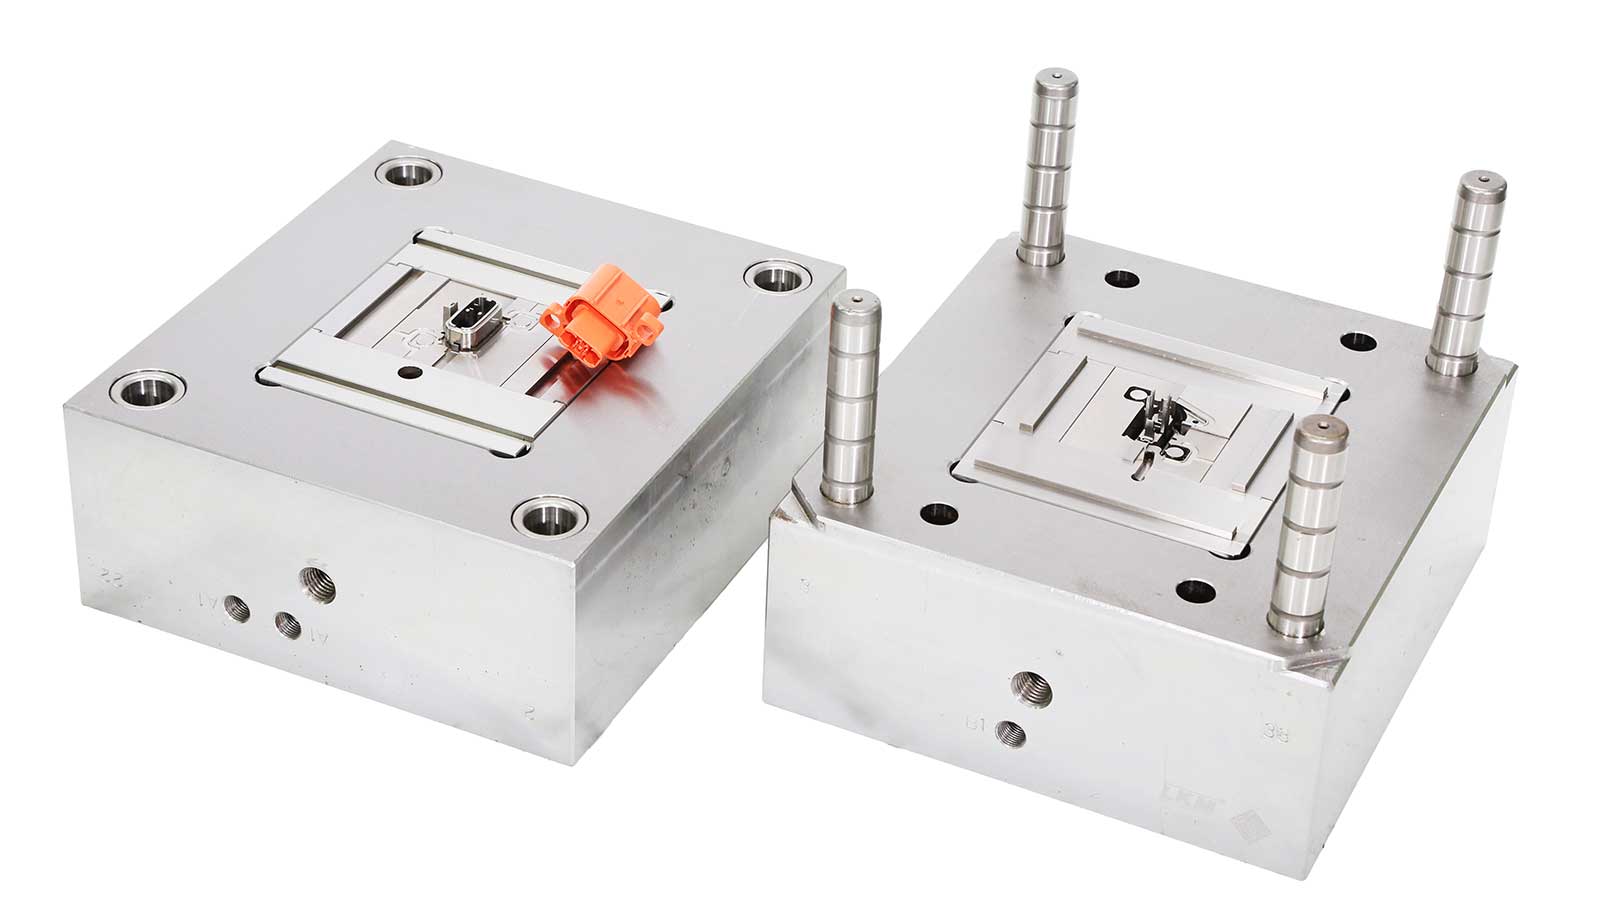
When inspecting the fixed plate and the movable pressure plate of the injection molding mold separately, the directional marks are crucial. These marks serve as the “compass” for the mold, guiding us to install it correctly. If we neglect the directional marks, errors may occur during mold clamping, resulting in an unstable mold installation and affecting subsequent injection molding production. Therefore, during pre-inspection, be sure to carefully check the directional marks to ensure the accuracy of the mold installation direction.
Inclined Guide Mold Installation: Close Cooperation for Safe Operation
When installing the mold, close cooperation and safety are the top priorities. For molds with a lateral separation mechanism, the installation position of the slider is of great importance. The slider should be installed horizontally so that the movable block can move smoothly from side to side. This is like applying lubricant to the “joint” of the mold, making it more flexible during operation.
Suppose the slider is installed in an improper position. In that case, it may cause problems such as jamming and wear during the injection molding process, affecting the service life of the mold and production efficiency. Therefore, when installing the inclined guide mold, follow the operating procedures strictly to ensure the accurate installation position of the slider.
Fixing the Injection Molding Mold: Precise Positioning for Stable Mold Support
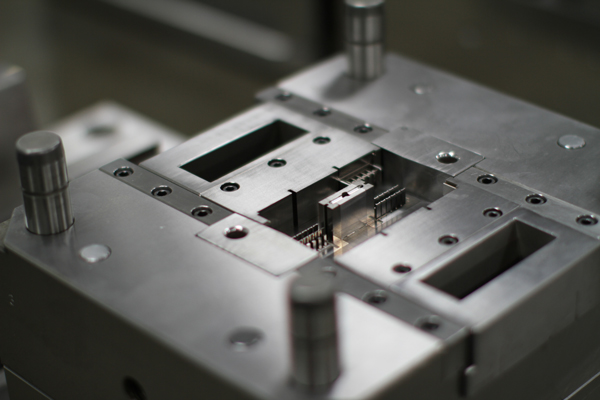
Installing the mold positioning ring in the positioning ring seat of the fixed template of the injection molding machine is the first step in mold fixing. This step is like finding a precise “coordinate” for the mold on the injection molding machine, ensuring its accurate position. After installing the positioning ring, close the mold at an extremely slow speed so that the movable pressure plate gently presses the mold. This process requires the operator to have rich experience and a delicate touch to avoid damaging the mold by applying excessive force.
Subsequently, use pressure plates to fix the mold. The pressure plates must be equipped with backing plates, and four of them should be installed up and down to ensure uniform force on the mold. When using the pressure plates, the adjustment of the screw height is crucial. Be sure to adjust the screw height to the same level as the mold feet to keep the pressure plates flat. If the pressure plates are tilted, the mold feet will not be tightly pressed, and the sides of the pressure plates will not be close to the mold. In this case, friction will occur between the mold and the pressure plates during the injection molding process, damaging the mold. Therefore, when fixing the mold, carefully adjust the height of the pressure plate screws to ensure a stable mold fixation.
Correcting the Ejection Distance of the Ejector Rod: Precise Control to Protect the Mold and Products
After fixing the injection molding mold, start the mold slowly until the movable pressure plate stops retracting. At this time, it is necessary to adjust the position of the ejector rod. Adjust the position of the ejector rod between the ejector pin plate of the mold and the movable pressure plate, ensuring a gap of at least 5mm. This gap serves as a “safety buffer” for the mold, preventing the ejector rod from colliding with the mold during ejection and thus damaging the injection molding mold. At the same time, an appropriate gap can also ensure the smooth ejection of the injection-molded parts and improve production efficiency.
If the ejection distance of the ejector rod is not adjusted properly, it may cause mold damage or prevent the product from being demolded normally. Therefore, when correcting the ejection distance of the ejector rod, use professional measuring tools to ensure that the adjustment accuracy meets the requirements.
Adjusting the Clamping Tightness: Balancing Overflow and Ventilation for Optimal Injection Molding Conditions
To prevent overflow and ensure proper ventilation of the cavity, adjusting the clamping mechanism of the hydraulic injection is crucial. This adjustment process is mainly based on visual observation and experience. During mold closing, the movement of the toggle should be fast first and then slow. This movement rhythm is like a well-choreographed dance, which can ensure rapid mold closing while reducing the speed when approaching closing to avoid impacting the mold.
By visually observing the mold closing situation and combining past experience, we can determine whether the clamping tightness is just right. For molds with temperature requirements, the mold tightness should be corrected after raising the mold temperature. Because changes in mold temperature will affect the mold size and sealing performance. Only by correcting at the appropriate temperature can we ensure that the mold maintains good sealing during the injection molding process.
Obtaining Cooling Water: Checking for Smooth Flow and No Leakage to Ensure Mold Cooling Effect
After connecting the cooling water, it is essential to check whether the cooling water flows smoothly and whether there are any leaks. Cooling water is like the “coolant” for the mold, which can promptly take away the heat generated by the mold during the injection molding process and maintain a stable mold temperature. If the cooling water does not flow smoothly or there are leakage problems, it will cause the mold temperature to be too high, affecting the molding quality of the product and the service life of the mold.
Therefore, after connecting the cooling water, carefully check whether the cooling water pipes are unobstructed and whether there are any blockages. At the same time, check whether each connection is well-sealed and whether there are any water leaks. Once problems are found, repair and handle them in a timely manner to ensure the normal operation of the cooling water system.
The installation and adjustment of molds on the injection molding machine is a systematic and meticulous process. Each step is related to the smooth progress of injection molding production and the stability of product quality. Only by strictly following the operating procedures and paying attention to every detail can we ensure that the mold is installed and adjusted properly, laying a solid foundation for subsequent injection molding production.
