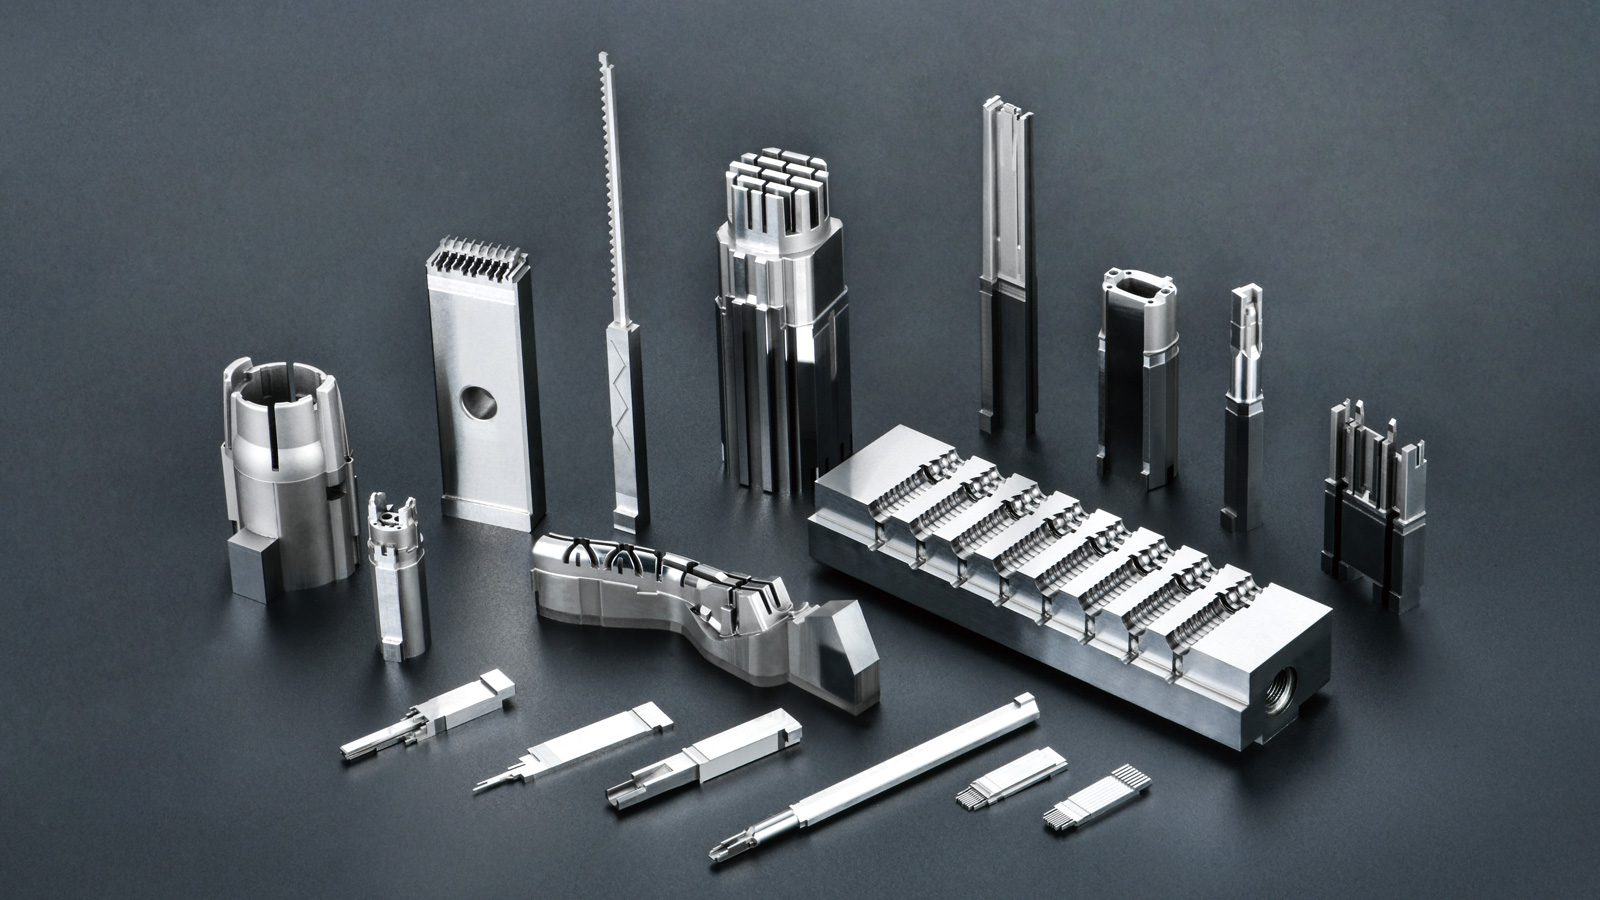
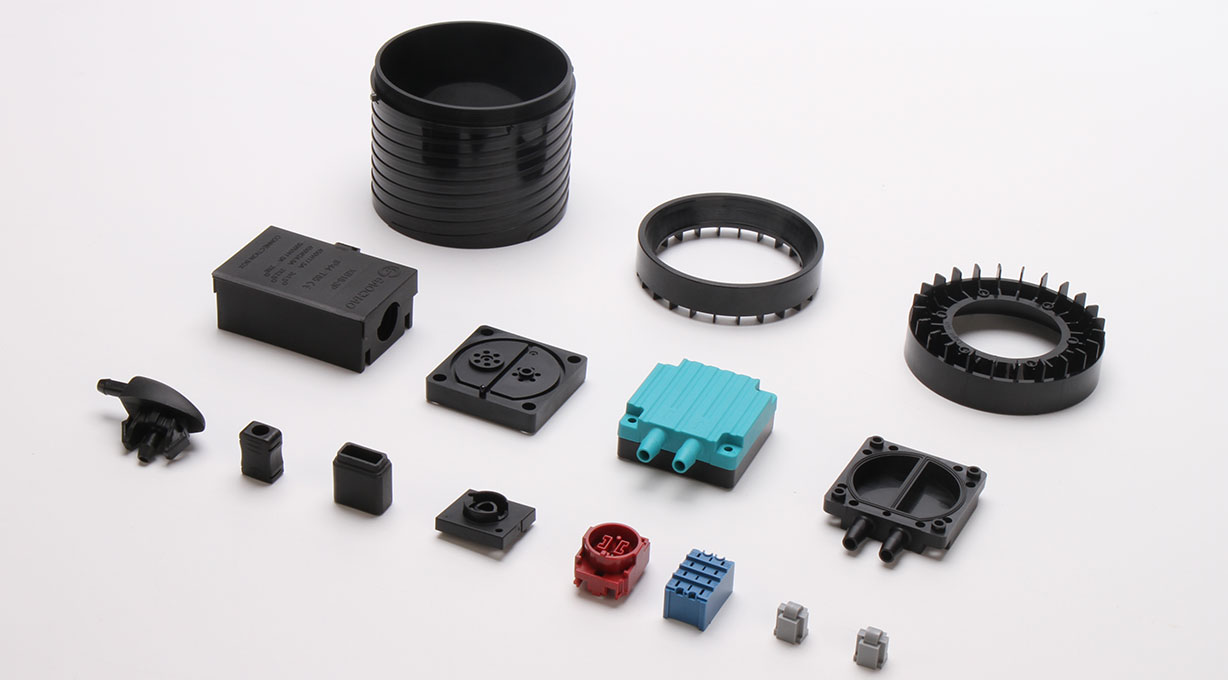

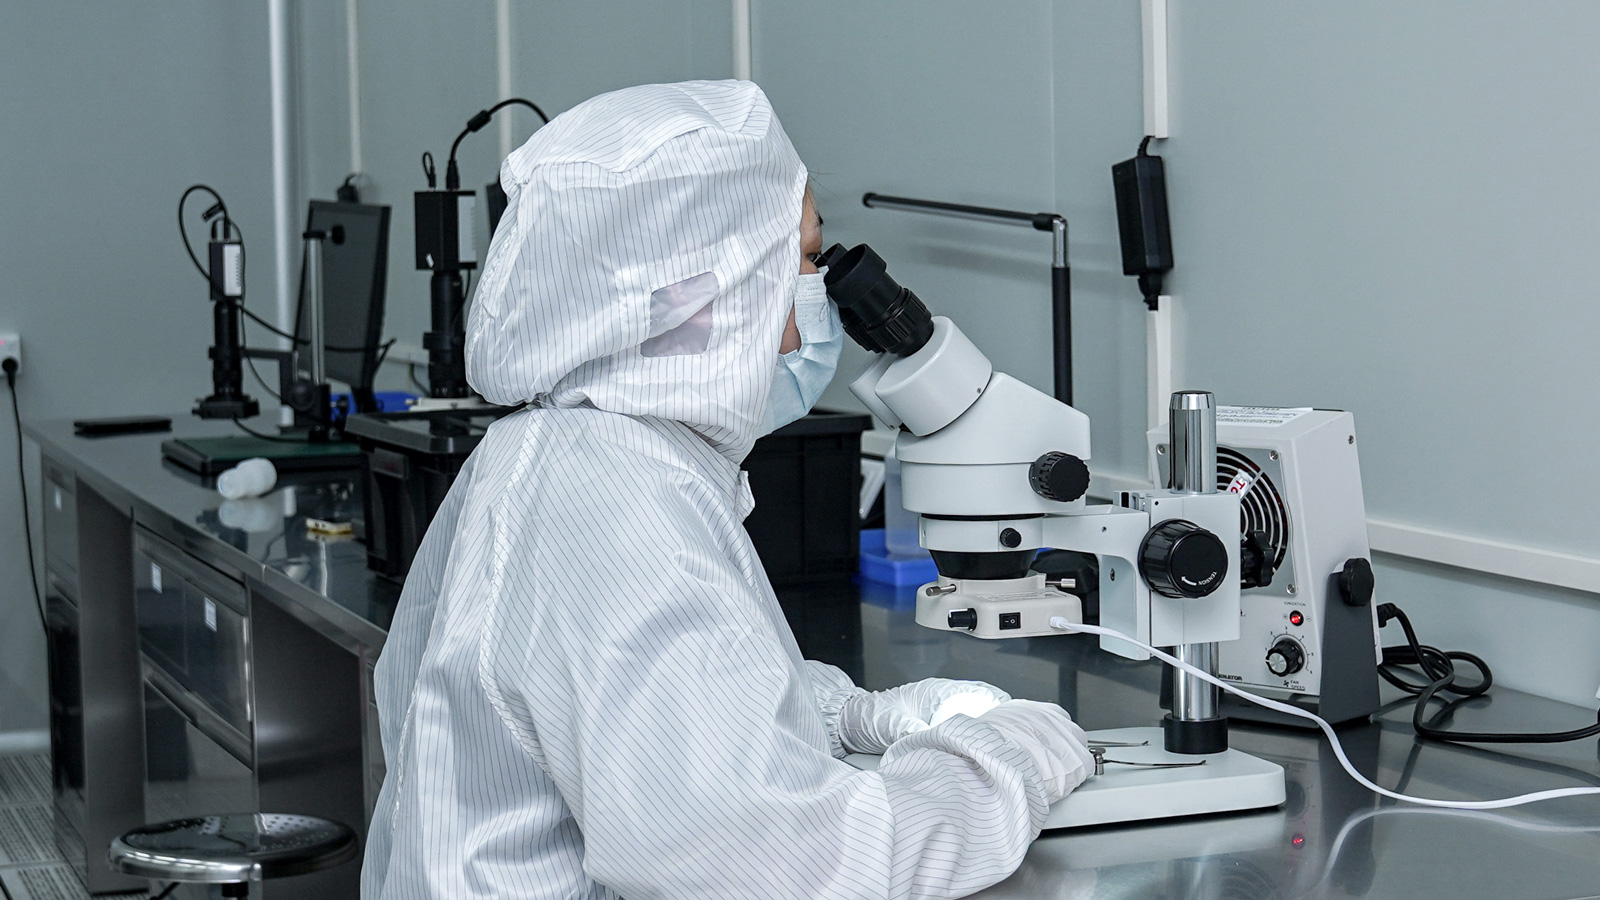



In injection molding production, ejector pins (also known as knockout pins or ejector rods) are indispensable precision components in a mould. Plastic mould ejector pin breakage not only halts production but may also damage the mould cavity, leading to high repair costs. Today, Yize Mould will systematically analyze how to effectively prevent plastic mould ejector pin breakage from three dimensions: the consequences of breakage, the root causes, and preventive measures.
Consequences of Plastic Mould Ejector Pin Breakage: More Than Just Downtime
Ejector pin breakage may seem like a minor issue, but its actual impact is far greater than expected. First, the broken pin residue left inside the mould will directly prevent the injection molding machine from closing properly, forcing production to stop. Second, forcibly removing the residue can easily scratch or dent the mould cavity surface, especially for precision moulds where repair is difficult and time-consuming. Furthermore, frequent pin breakage accelerates the wear of other mould components, shortening the overall service life of the mould, ultimately affecting product delivery schedules and customer satisfaction.
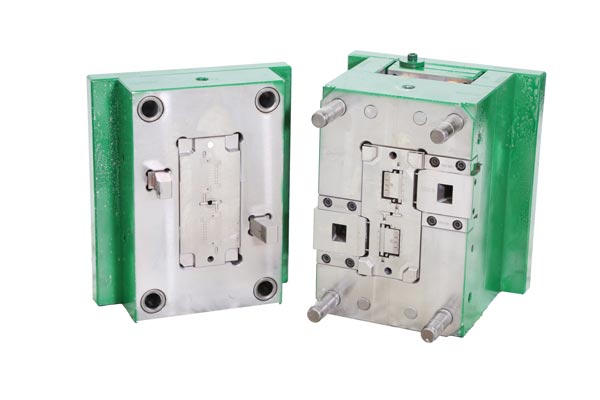
Root Causes of Ejector Pin Breakage: Identify the Source for Targeted Solutions
Ejector pin breakage is not accidental. It is typically caused by the combined effect of the following five major factors:
1. Material and Heat Treatment Issues
The pin material lacks sufficient toughness, or the heat treatment process is inadequate (e.g., uneven quenching, insufficient tempering), resulting in a pin that is hard but brittle. When subjected to bending stress, it is prone to brittle fracture.
2. Design and Machining Defects
The ejector pin hole interferes with the mould’s locking screw positions, forcing the pin to be both slender and long, making it susceptible to bending under load. Additionally, incomplete machining of the root fillet radius (R), or poor hole wall roughness and straightness, creates stress concentration points, becoming hidden risks for breakage.
3. Improper Injection Molding Process Parameters
Excessively high injection pressure causes the cavity to expand excessively, subjecting the ejector pin to additional resistance during its return stroke. Under prolonged high-pressure operation, the pin experiences repeated bending fatigue and eventually fractures.
4. Uneven Ejection Resistance
Insufficient mould draft angle, rough mould surface, or the presence of undercuts leads to uneven distribution of ejection resistance, causing localized overload and breakage of individual pins.
5. Lack of Maintenance
Prolonged lack of lubrication, or accumulation of residual material inside the pin hole, causes sticking and sluggish movement. Failure to replace worn pins in a timely manner also increases the risk of sudden breakage.
How to Prevent Ejector Pin Breakage: A Systematic Prevention Plan
Based on the causes above, it is recommended to establish a systematic prevention system from three levels: design, process, and maintenance.
1. Optimize Design and Machining
- Ensure a complete fillet radius (R) is machined at the root of the ejector pin to avoid stress concentration.
- Arrange ejector pin positions reasonably to avoid conflict with locking screw holes. Minimize pin length and increase diameter to enhance rigidity.
- Maintain straightness and surface finish during pin hole machining to reduce frictional resistance.
2. Strictly Control Material and Heat Treatment
- Select high-quality mould steel, ensuring the material is free from internal defects such as porosity or inclusions.
- The heat treatment process must balance hardness and toughness. Vacuum quenching followed by tempering is recommended to produce pins that are both wear-resistant and not prone to brittle fracture.
3. Standardize Injection Molding Process
- Reduce injection pressure and holding pressure as much as possible while ensuring product quality.
- During mold trials, increase pressure gradually while monitoring mould deformation with a dial indicator to find the optimal process window.
- Use mold release agents as an aid, but be aware of their potential impact on subsequent secondary processing.
4. Establish a Regular Maintenance System
- Check the smooth movement of ejector pins every shift, and promptly clean residual material from the holes.
- Regularly lubricate pins and guide holes; high-temperature grease is recommended.
- Maintain a spare parts inventory for ejector pins. Replace pins immediately upon detecting wear or micro-cracks; do not continue using compromised parts.
5. Equip with Emergency Handling Tools
- The mould workshop should keep specialized tools such as brass sheets and brass rods on hand for safely removing broken pin residues. Never use hard tools like screwdrivers, which can damage the mould.
- For difficult-to-remove residues, use material-specific solvents (e.g., acetone) to soften them before removal, keeping away from open flames.
Frequently Asked Questions (FAQ)
Q1: After an ejector pin breaks, how can the remaining part be safely removed?
A: First, try to pry it out using a brass sheet inserted between the product and the mould. Alternatively, use a thin brass rod to gently tap it from the nozzle side. If unsuccessful, heat an iron wire, insert it from the cavity side, allow it to cool, and then pull it out with pliers. Never use a screwdriver, as it will damage the mould.
Q2: If ejector pins break frequently, which area should be checked first?
A: Prioritize the investigation in this order: first, check if injection molding process parameters are too high; second, verify if the pin material and heat treatment meet specifications; finally, inspect the machining quality of the pin hole and the completeness of the root fillet radius.
Q3: How to prevent ejector pins from rusting and seizing during long-term mould storage?
A: Before storage, spray anti-rust agent on the pins and inside the holes, and close the mould. Before restarting, manually check if the pins move freely. If necessary, disassemble, clean, and re-lubricate them.
Q4: How many spare ejector pins should be kept in stock?
A: It is recommended to stock spare pins equivalent to 10%-20% of the total number of pins in the mould. Extra spares should be kept for slender pins (1-2mm diameter), as they have a higher risk of breakage.